A quick heads-up: This post contains affiliate links. If you buy something through one of my links, I may earn a commission at no additional cost to you. As an Amazon Associate I earn from qualifying purchases.
There is something deeply satisfying about putting an entire tiny world inside a glass jar.
Maybe it’s the plants. Maybe it’s getting to arrange tiny rocks and moss like I’m landscaping an estate for someone approximately three inches tall. Maybe I just really enjoy having an excuse to bring another glass container home from the thrift store.
Whatever the reason, terrariums are one of my favorite plant projects—and they’re much easier to build than they look.
You don’t need a fancy terrarium kit or a perfectly shaped $100 glass container. You need a jar, a few substrate materials, some appropriately tiny plants, and an unreasonable amount of excitement about moss.
I’ll show you exactly how I layer mine from the bottom up.
First: Find Your Tiny World a Home
Before we put anything in it, we need something to build our terrarium in.
And honestly?
Go to the thrift store.
Glass jars, old canisters, oversized apothecary jars, weird glass containers with lids—if it’s clear, clean, and gives me enough room to actually get plants inside it, I’m interested.
A thrifted jar is a fantastic choice for your first terrarium because you don’t have to spend much money while you’re figuring out whether this is a hobby you’re going to enjoy.
If thrifting isn’t your thing, you can absolutely buy a glass terrarium jar. I especially like containers with wide enough openings that I can actually get my tools—and preferably my hand—inside.
Tiny openings look adorable right up until you’re trying to plant something at the bottom of them.
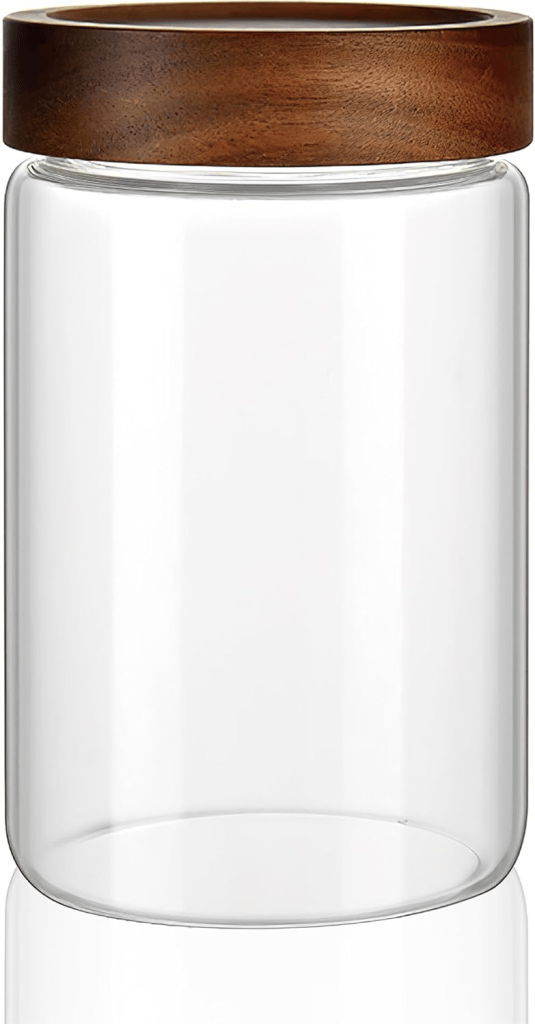
[See one glass jar option I like →]
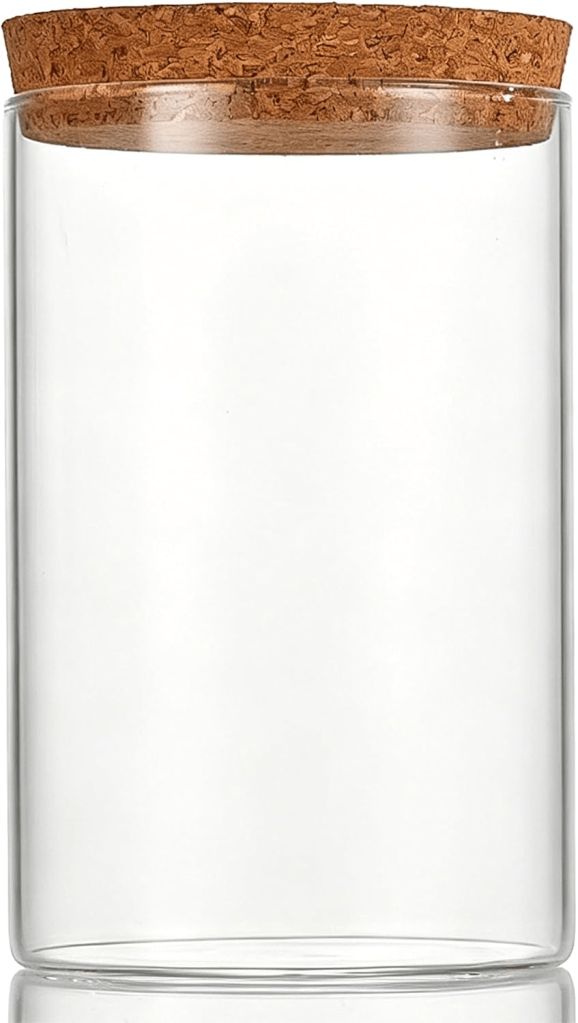
[See another glass jar option →]
The Layers
This is the order I build mine:
Sand → LECA or stones → charcoal → sphagnum moss → soil → plants → live moss → decor
It sounds like a lot when you write it all out.
Once you start putting it together, though, you’re basically making a tiny plant lasagna.
Let’s build it.
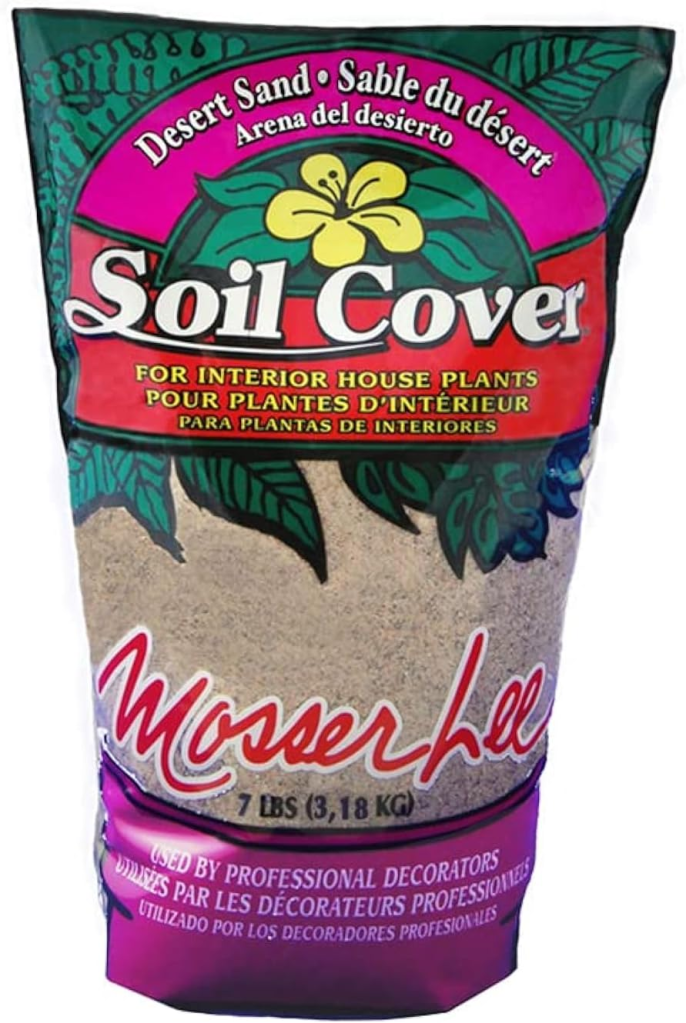
Layer 1: Sand
I start with a layer of sand at the very bottom.
Part of the reason I enjoy this layer is simply that it gives the bottom of the terrarium a nice, finished look through the glass. Your terrarium is going to be visible from the outside, so the layers become part of the design.
You don’t need to make this layer enormous. We’re trying to leave plenty of vertical space for the things that are actually going to grow.
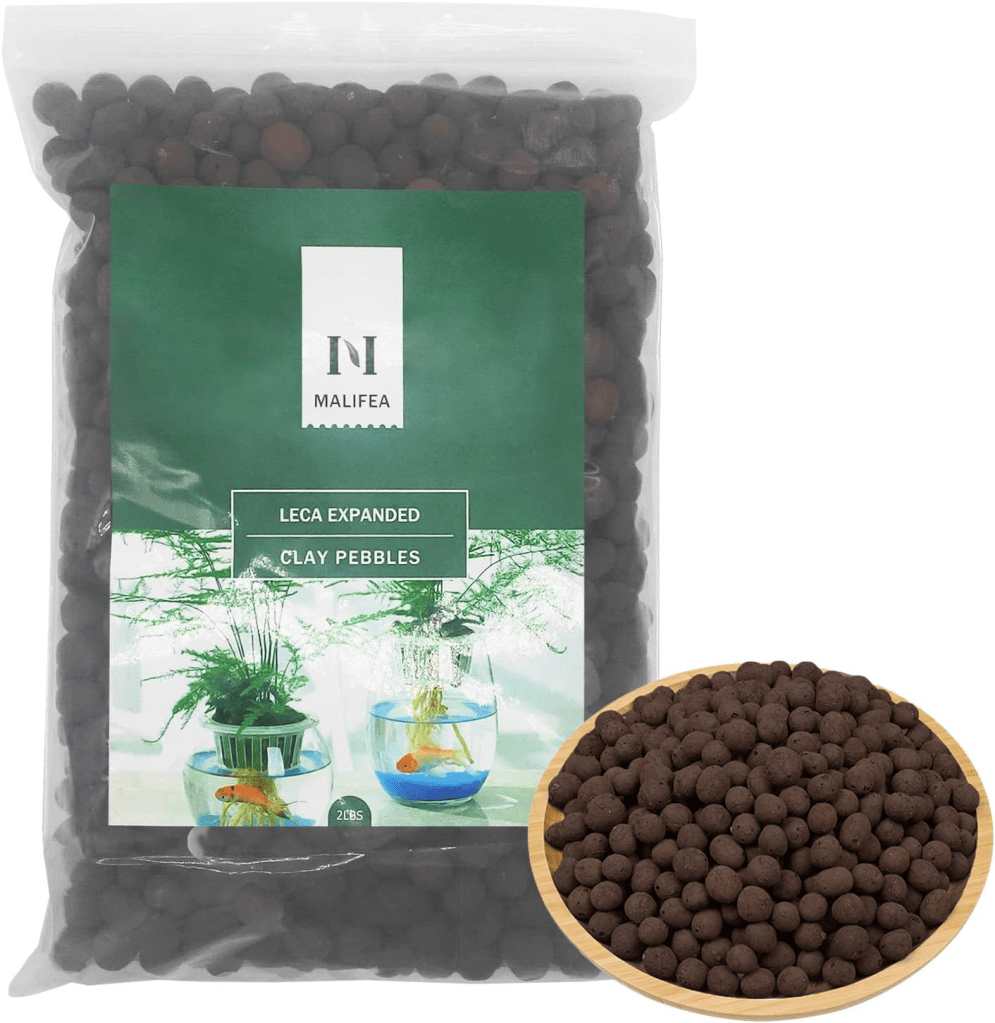
Layer 2: LECA or Stones
Next comes LECA or small stones.
LECA stands for lightweight expanded clay aggregate—which is an unnecessarily serious name for those little clay balls you see plant people using.
This layer creates space beneath the growing medium where excess water can collect instead of leaving the soil sitting directly against the bottom of a container with no drainage hole.
And that’s important because your glass jar does not have somewhere for excess water to escape.
I use either LECA or stones depending on what I already have around.
No need to make this more complicated than it needs to be.
Layer 3: Horticultural Charcoal
Look who’s back!
If you read my What’s Actually in My Houseplant Soil? post, you’ve already met my horticultural charcoal.
This is exactly why I like buying individual plant materials instead of a different kit for every project. The same bag can move from my houseplant soil straight over to my terrarium supplies.
I add a layer of horticultural charcoal above my drainage layer as another coarse component in the bottom of the terrarium.
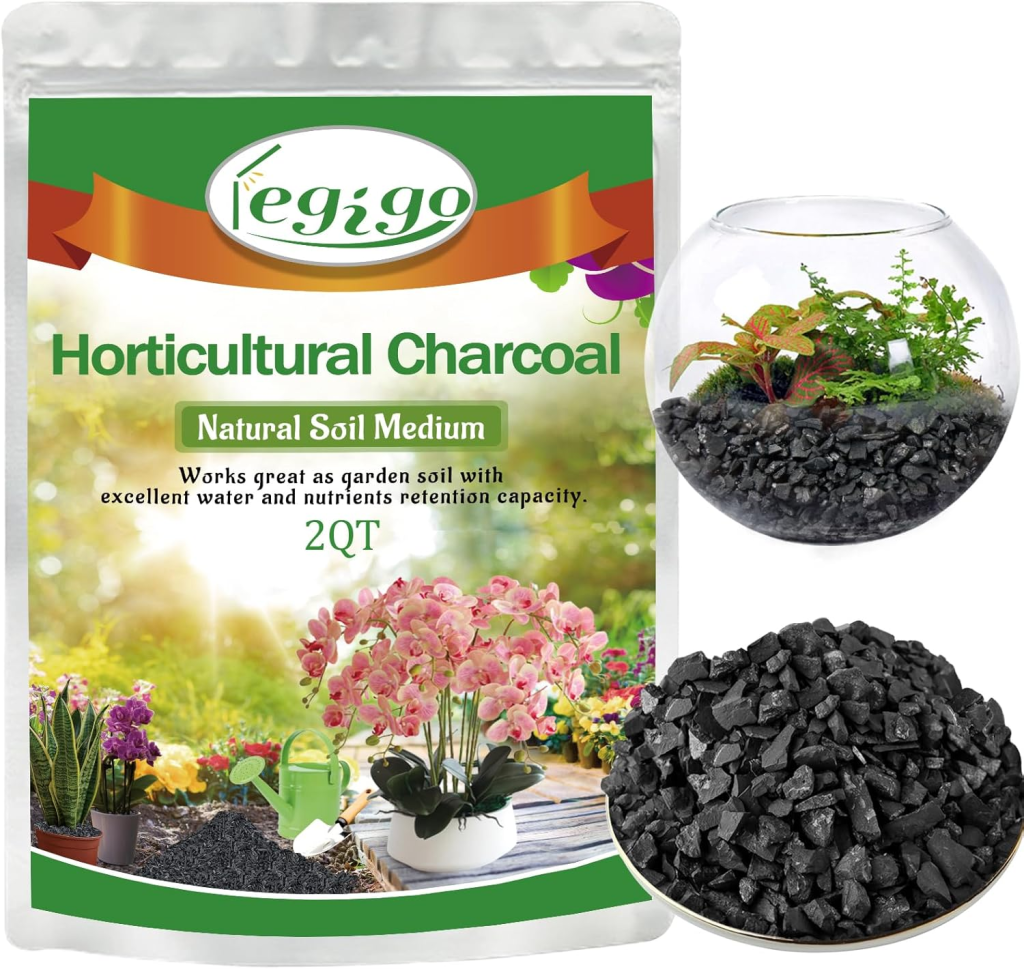
[Get the horticultural charcoal I use →]
Layer 4: Sphagnum Moss
Next, I add a layer of sphagnum moss.
This creates some separation between the chunky layers underneath and the soil we’re about to put on top. It also holds moisture, which is particularly useful in the humid environment I’m creating.
You don’t need to pack half the jar with it. We’re making a layer, not stuffing a mattress.
And once again, this is something I already keep around for my other plant projects.
See? My increasingly concerning collection of bags of plant material is starting to make sense.
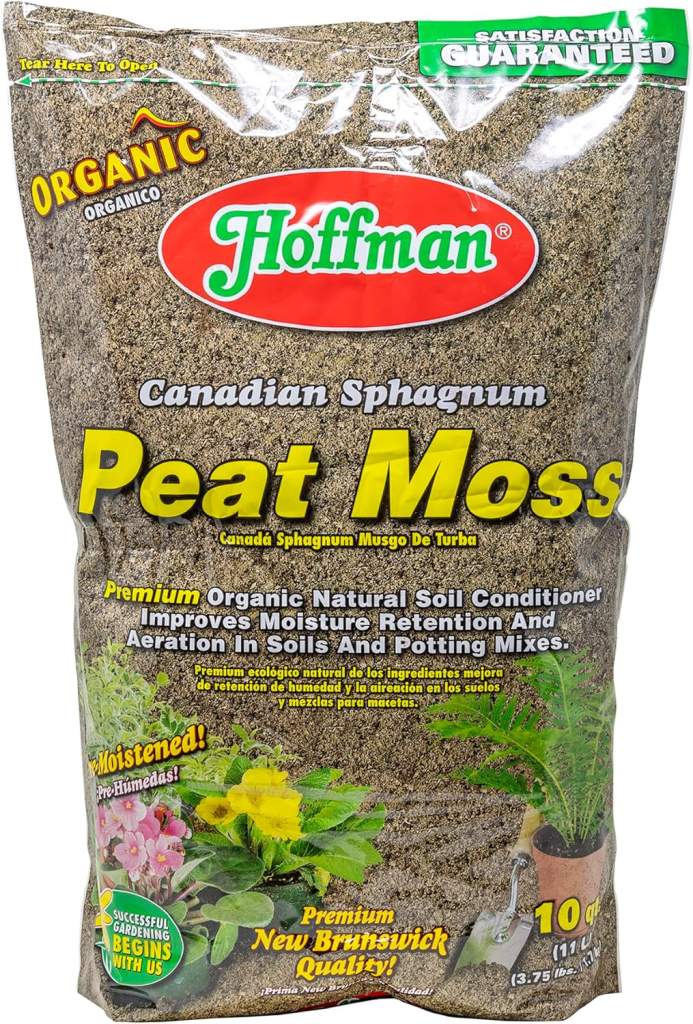
[Get the sphagnum moss I use →]
Layer 5: Soil
Now we finally get to the dirt.
I use the same basic soil ingredients I keep around for my houseplants, adjusting the mixture for the plants I’m putting into the terrarium.
If you want to know what’s actually in my soil, I’ve already written an entire post about it because apparently I have reached the point in my life where I have strong opinions about dirt.
[Read: What’s in My Houseplant Soil? →]
Give your plants enough soil to establish their roots without filling your entire container. Remember that we still need room for the plants themselves—and they are hopefully going to grow.
Now the Fun Part: Plants
This is where your collection of dirt and rocks finally starts looking like a terrarium.
For a humid terrarium, I want small plants that appreciate the humid environment and won’t immediately outgrow the container.
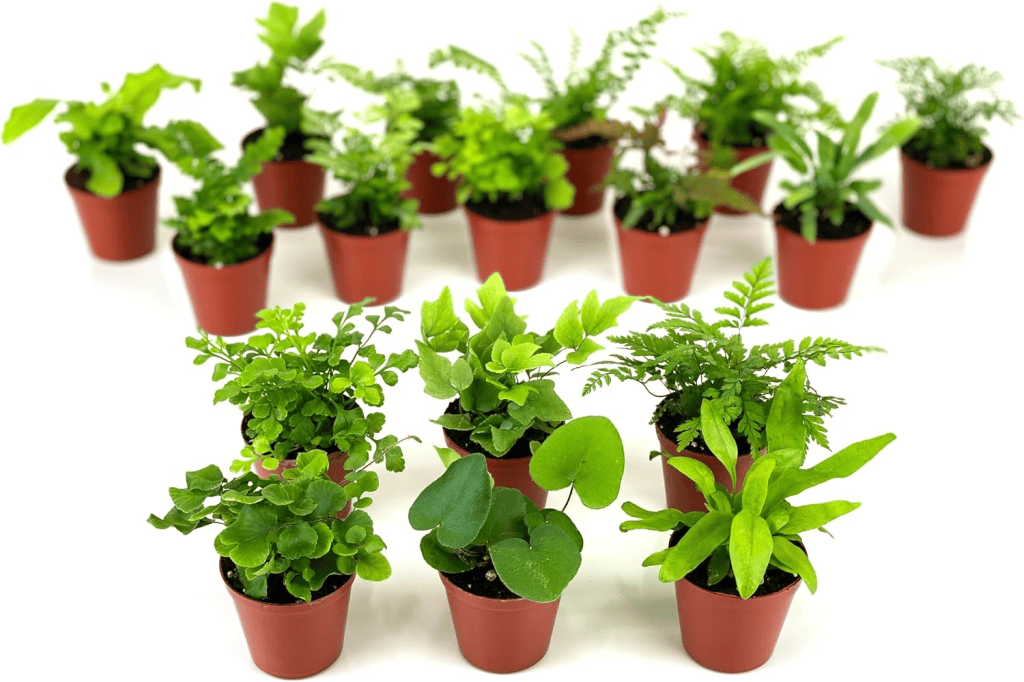
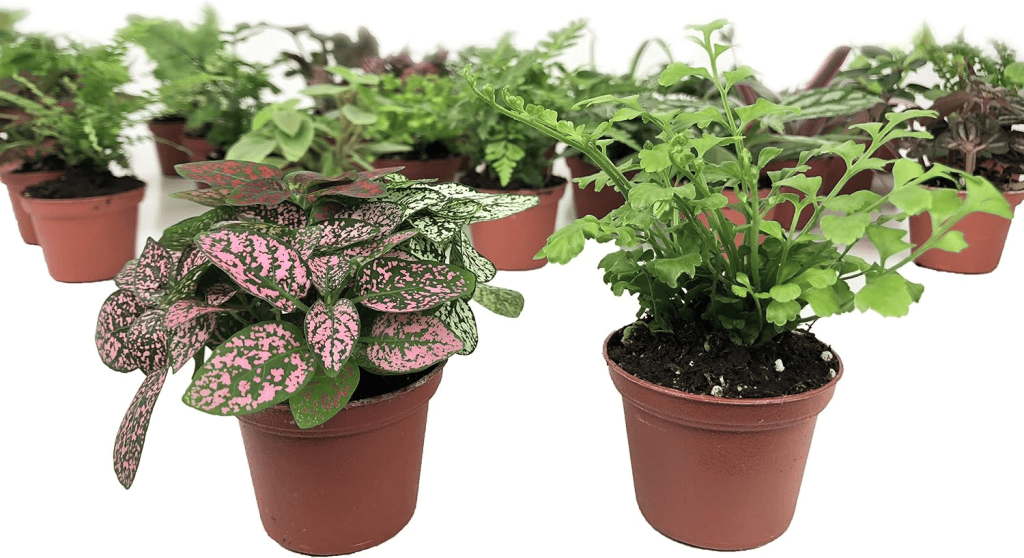
I like buying assortments of miniature terrarium plants because I can get different textures, heights, and leaf shapes without having to hunt down every individual plant.
One of the assortments I use is sold specifically as small, high-humidity-tolerant plants for terrariums.
I have a few assortments I like:
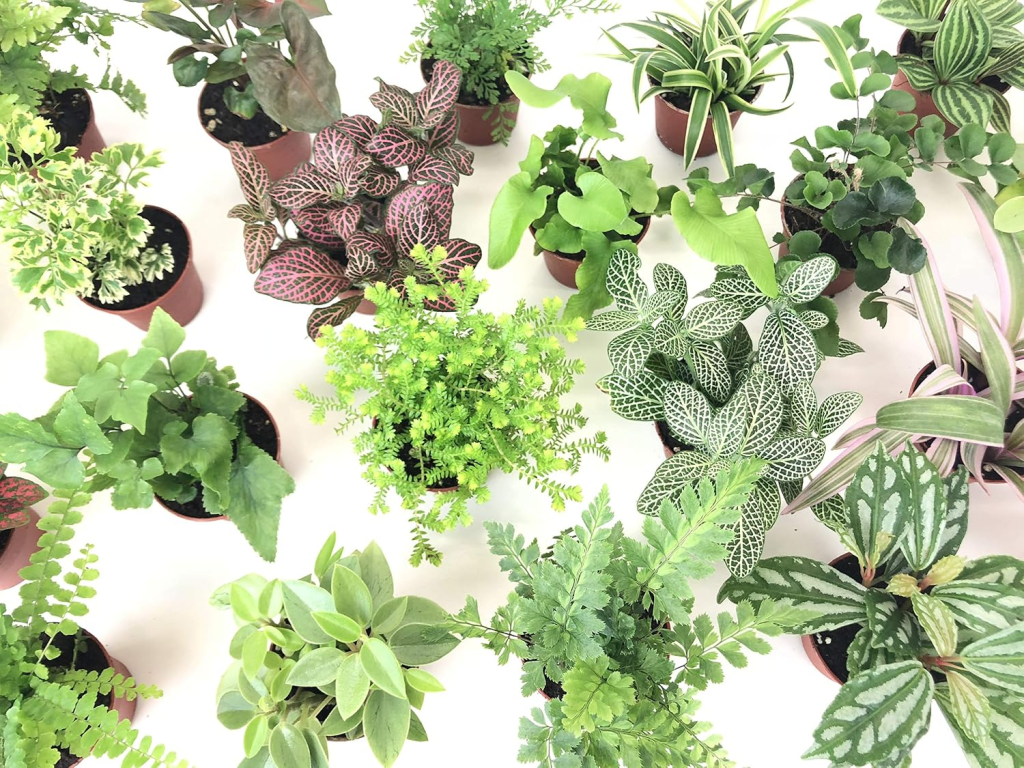
[Mini Terrarium Plant Assortment →]
[Another Terrarium Plant Assortment →]
[Two-Plant Terrarium Assortment →]
When you’re arranging them, don’t immediately plant everything.
Set them where you think you want them first.
Move them around.
Change your mind.
Move them again.
Stare at the jar from six different angles.
This is landscaping. The fact that our property is twelve inches wide is irrelevant.
I usually put taller plants toward the back or center and use shorter plants around them, but there are no terrarium police coming to inspect your composition.
Make it look good to you.
Add the Moss
This is when everything starts looking magical.
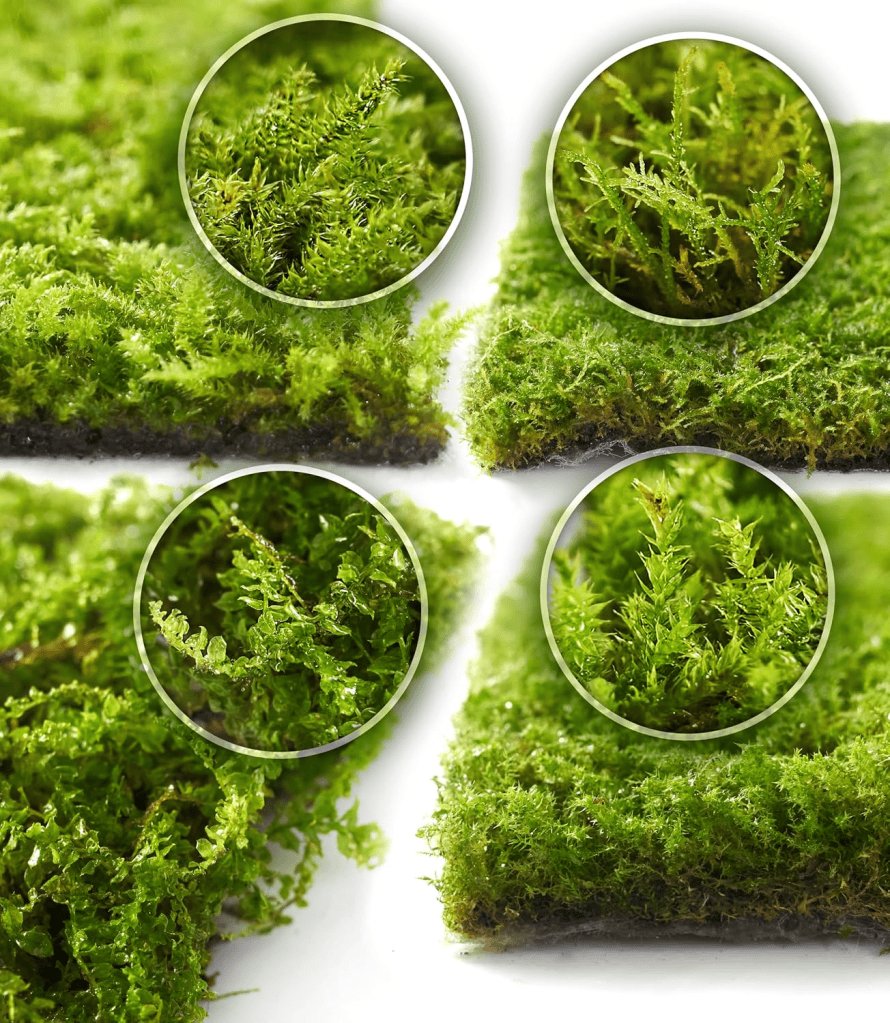
Once my plants are in place, I add live moss over the exposed soil.
The moss you linked is sold specifically for uses including terrariums and potted plants.
I love using moss because it instantly transforms the project from:
Plants in a jar.
to:
Tiny forest that may contain a very small wizard.
Tuck pieces around your plants, rocks, and other features rather than trying to cover every single inch.
And Now We Decorate
Technically, you could stop here.
I will not.
This is The Hobby Cabinet. Of course we’re putting tiny things in it.
This is where I add decorative rocks, little pieces of wood, miniature mushrooms, tiny houses, figurines, paths—whatever fits the world I’m trying to create.
And some of my favorite decor costs exactly zero dollars.
I go outside.
Interesting rocks, little stones, and other natural materials can make a terrarium look much more organic than buying an entire bag of identical decorative pebbles.
*A Very Important Note About Bringing Things Inside*
Be thoughtful about what you collect.
I would not use material from an area that’s recently been treated with herbicides, pesticides, or other lawn chemicals. You don’t want to introduce residues from treated areas into the tiny ecosystem you’ve just built.
Also inspect anything you bring inside for hitchhikers and debris before adding it to your terrarium.
Free rock?
Excellent.
Mystery chemical rock covered in mystery bugs?
We can find another rock.
The Tools I Wouldn’t Build One Without
Can you build a terrarium with your bare hands?
Technically.
Do I want to?
Absolutely not.
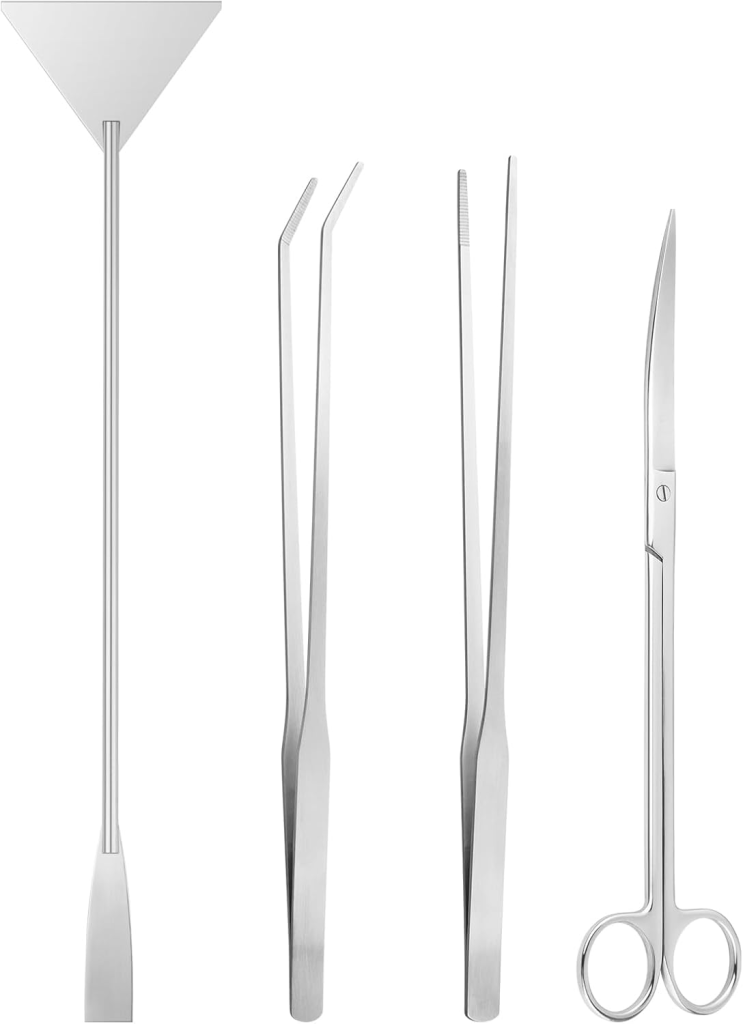
A set of long terrarium/aquascaping tools makes this dramatically easier, especially once you’re working inside a deeper jar.
The set I use includes long tweezers and scissors, which are exactly the kinds of tools that let you position plants, tuck moss into tiny spaces, trim things, and retrieve the decorative rock you dropped into precisely the wrong location.
Aquascaping tools aren’t necessarily marketed exclusively for plant terrariums, but they’re incredibly useful for them. The particular Ohtomber set you’re using is a four-piece kit that includes long tweezers, scissors, and a scraper.
If you’re going to spend money on one specialized tool for this project, this is where I’d spend it.
Your fingers are simply not designed for landscaping the bottom of a glass jar.
[Get the terrarium tools I use →]
The Most Important Part: Water
Here’s where beginners can accidentally love their terrarium to death.
Remember all those layers we just carefully built?
There is still no drainage hole in the bottom of that jar.
For a closed or mostly closed humid terrarium, you don’t want to treat watering day like you’re watering a normal potted houseplant and soak the entire thing.
Start conservatively.
You can always add a little more moisture.
Removing a miniature swamp is considerably less convenient.
After closing the terrarium, pay attention to what’s happening inside. Some condensation is normal in a humid closed environment, but constantly saturated soil or glass that stays heavily fogged can be a sign that you’ve added too much water.
Your terrarium is going to teach you what it needs if you watch it.
I recommend getting a small spray bottle and spraying just a little at a time.
I like something like this:
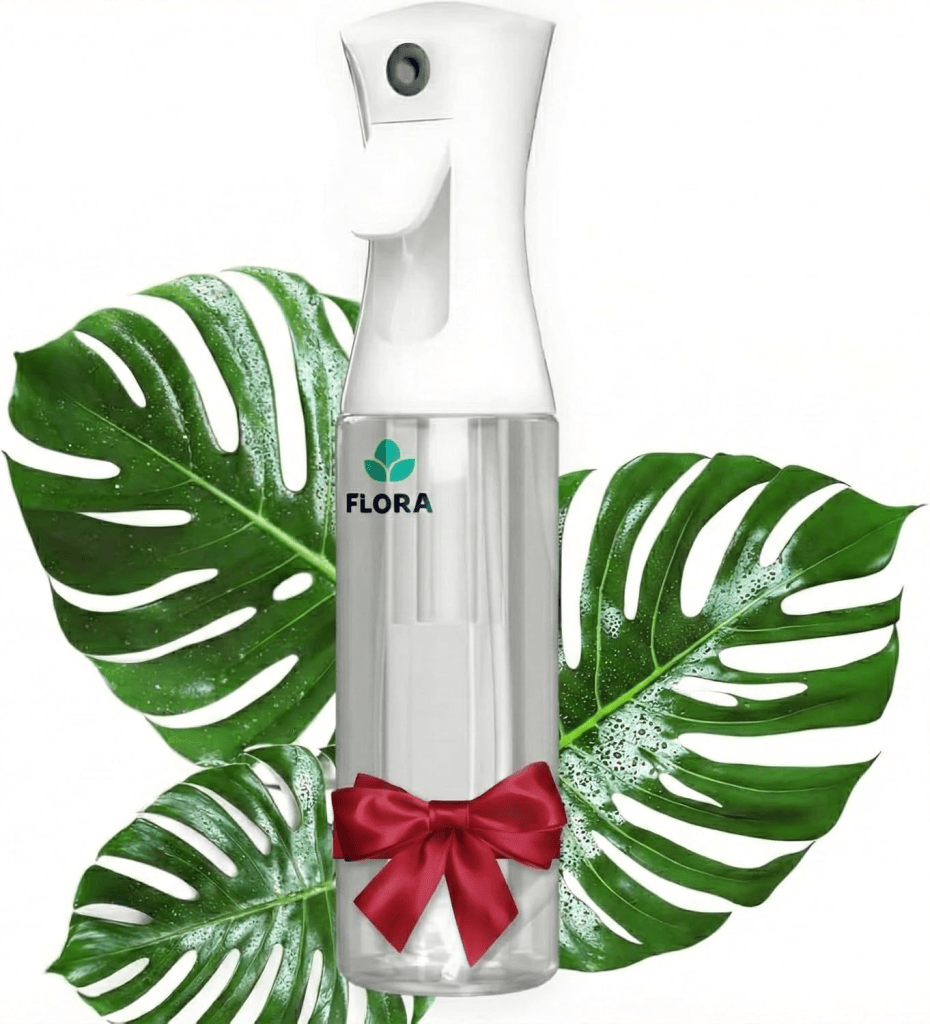
[Get the spray bottle I use →]
But if you want something prettier, I like this one too:
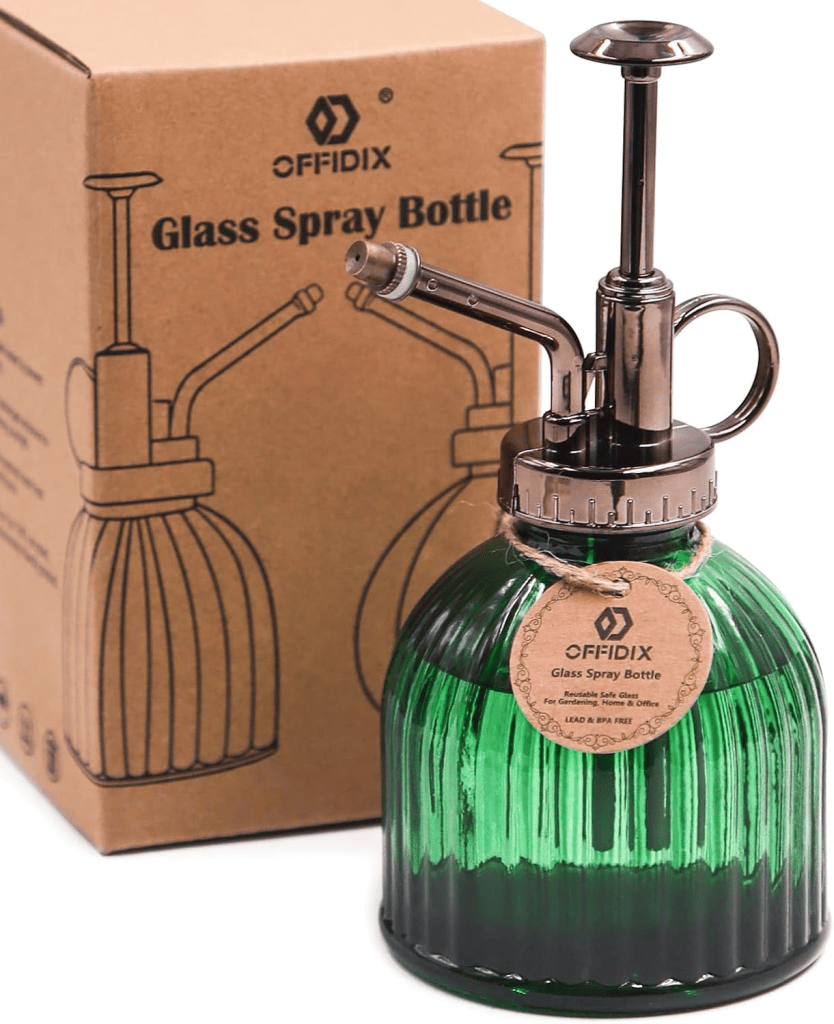
Where Should Your Terrarium Live?
Give it bright, indirect light.
A glass terrarium sitting in strong direct sun can heat up quickly, and we’re trying to grow a tiny forest—not construct a botanical Easy-Bake Oven.
I like putting mine somewhere I can actually see and enjoy it while keeping it out of harsh direct sunlight.
Because after arranging every last piece of moss with tweezers, I’m absolutely going to stare at it.
Let’s Boil It Down — What Do You Actually Need?
If you’re standing in the craft aisle wondering how this supposedly simple jar project has somehow turned into a shopping expedition, here’s the good news:
You probably already have some of this.
For your first terrarium, I’d gather:
- A glass container, preferably with a lid for this style of humid terrarium
- Sand
- LECA or small stones
- Horticultural charcoal
- Sphagnum moss
- Soil
- A few small, humidity-loving plants
- Live moss
- Long tweezers/scissors
- A little water
- Whatever decor makes your tiny heart happy
And don’t feel like everything needs to come from Amazon.
Thrift the jar.
Go find the cool rock.
Use materials you already bought for your houseplants.
That’s one of the reasons I love making terrariums in the first place. You can build something completely different every time without needing to buy an entirely new collection of supplies for every project.
Once the plants and moss go in, something about it changes.
It’s no longer layers of dirt in an old thrift-store jar.
It’s a tiny world.
And now you get to decide what lives there.


Leave a Reply